Living room table
Building a table for our living room
We have built a table out of wood and this should be a short summary of our steps.
A few tips beforehand to help you better understand the project:
- Wood is amazing. It can be used for so many things, is reusable and natural.
- If you can reuse used things, I much prefer that to buying new ones.
- I actually do things with computers, but I enjoy crafting challenges.
So what about the table?
We have a table in the kitchen and we spend a lot of time there. Playing games, preparing and eating food, drinking coffee, a lot of things take place at the table.
Our living room is actually much cozier and is better suited for some things, but there’s no table!
So the idea of equipping the living room with a table was born.
We haven’t yet found anything suitable on the relevant platforms where people sell their second-hand items. And buying new is simply too expensive.
During a walk, we discovered a solid wooden tabletop that someone had disposed of as waste in a grass verge. At first glance, it still looked usable and the format seemed to fit.
Of course, this kind of disposal is not nice, but we took the opportunity and took the table top with us.
Well, and then the work began.
This was the sequence:
- remove the dirt from the table top and clean it
- inspect areas affected by moisture
- remove metal holders that are no longer needed
- remove the old coating
- apply new glaze
- design the frame
- build the frame
- assemble the table
- second coat of paint
- enjoy!
Step 1 and 2
The table top consists of two halves which together form a hexagon.
The table was attacked by moisture at the screw holes, but it still looks okay. The dirt can be removed relatively easy, the color residues and lacquer will be removed later.
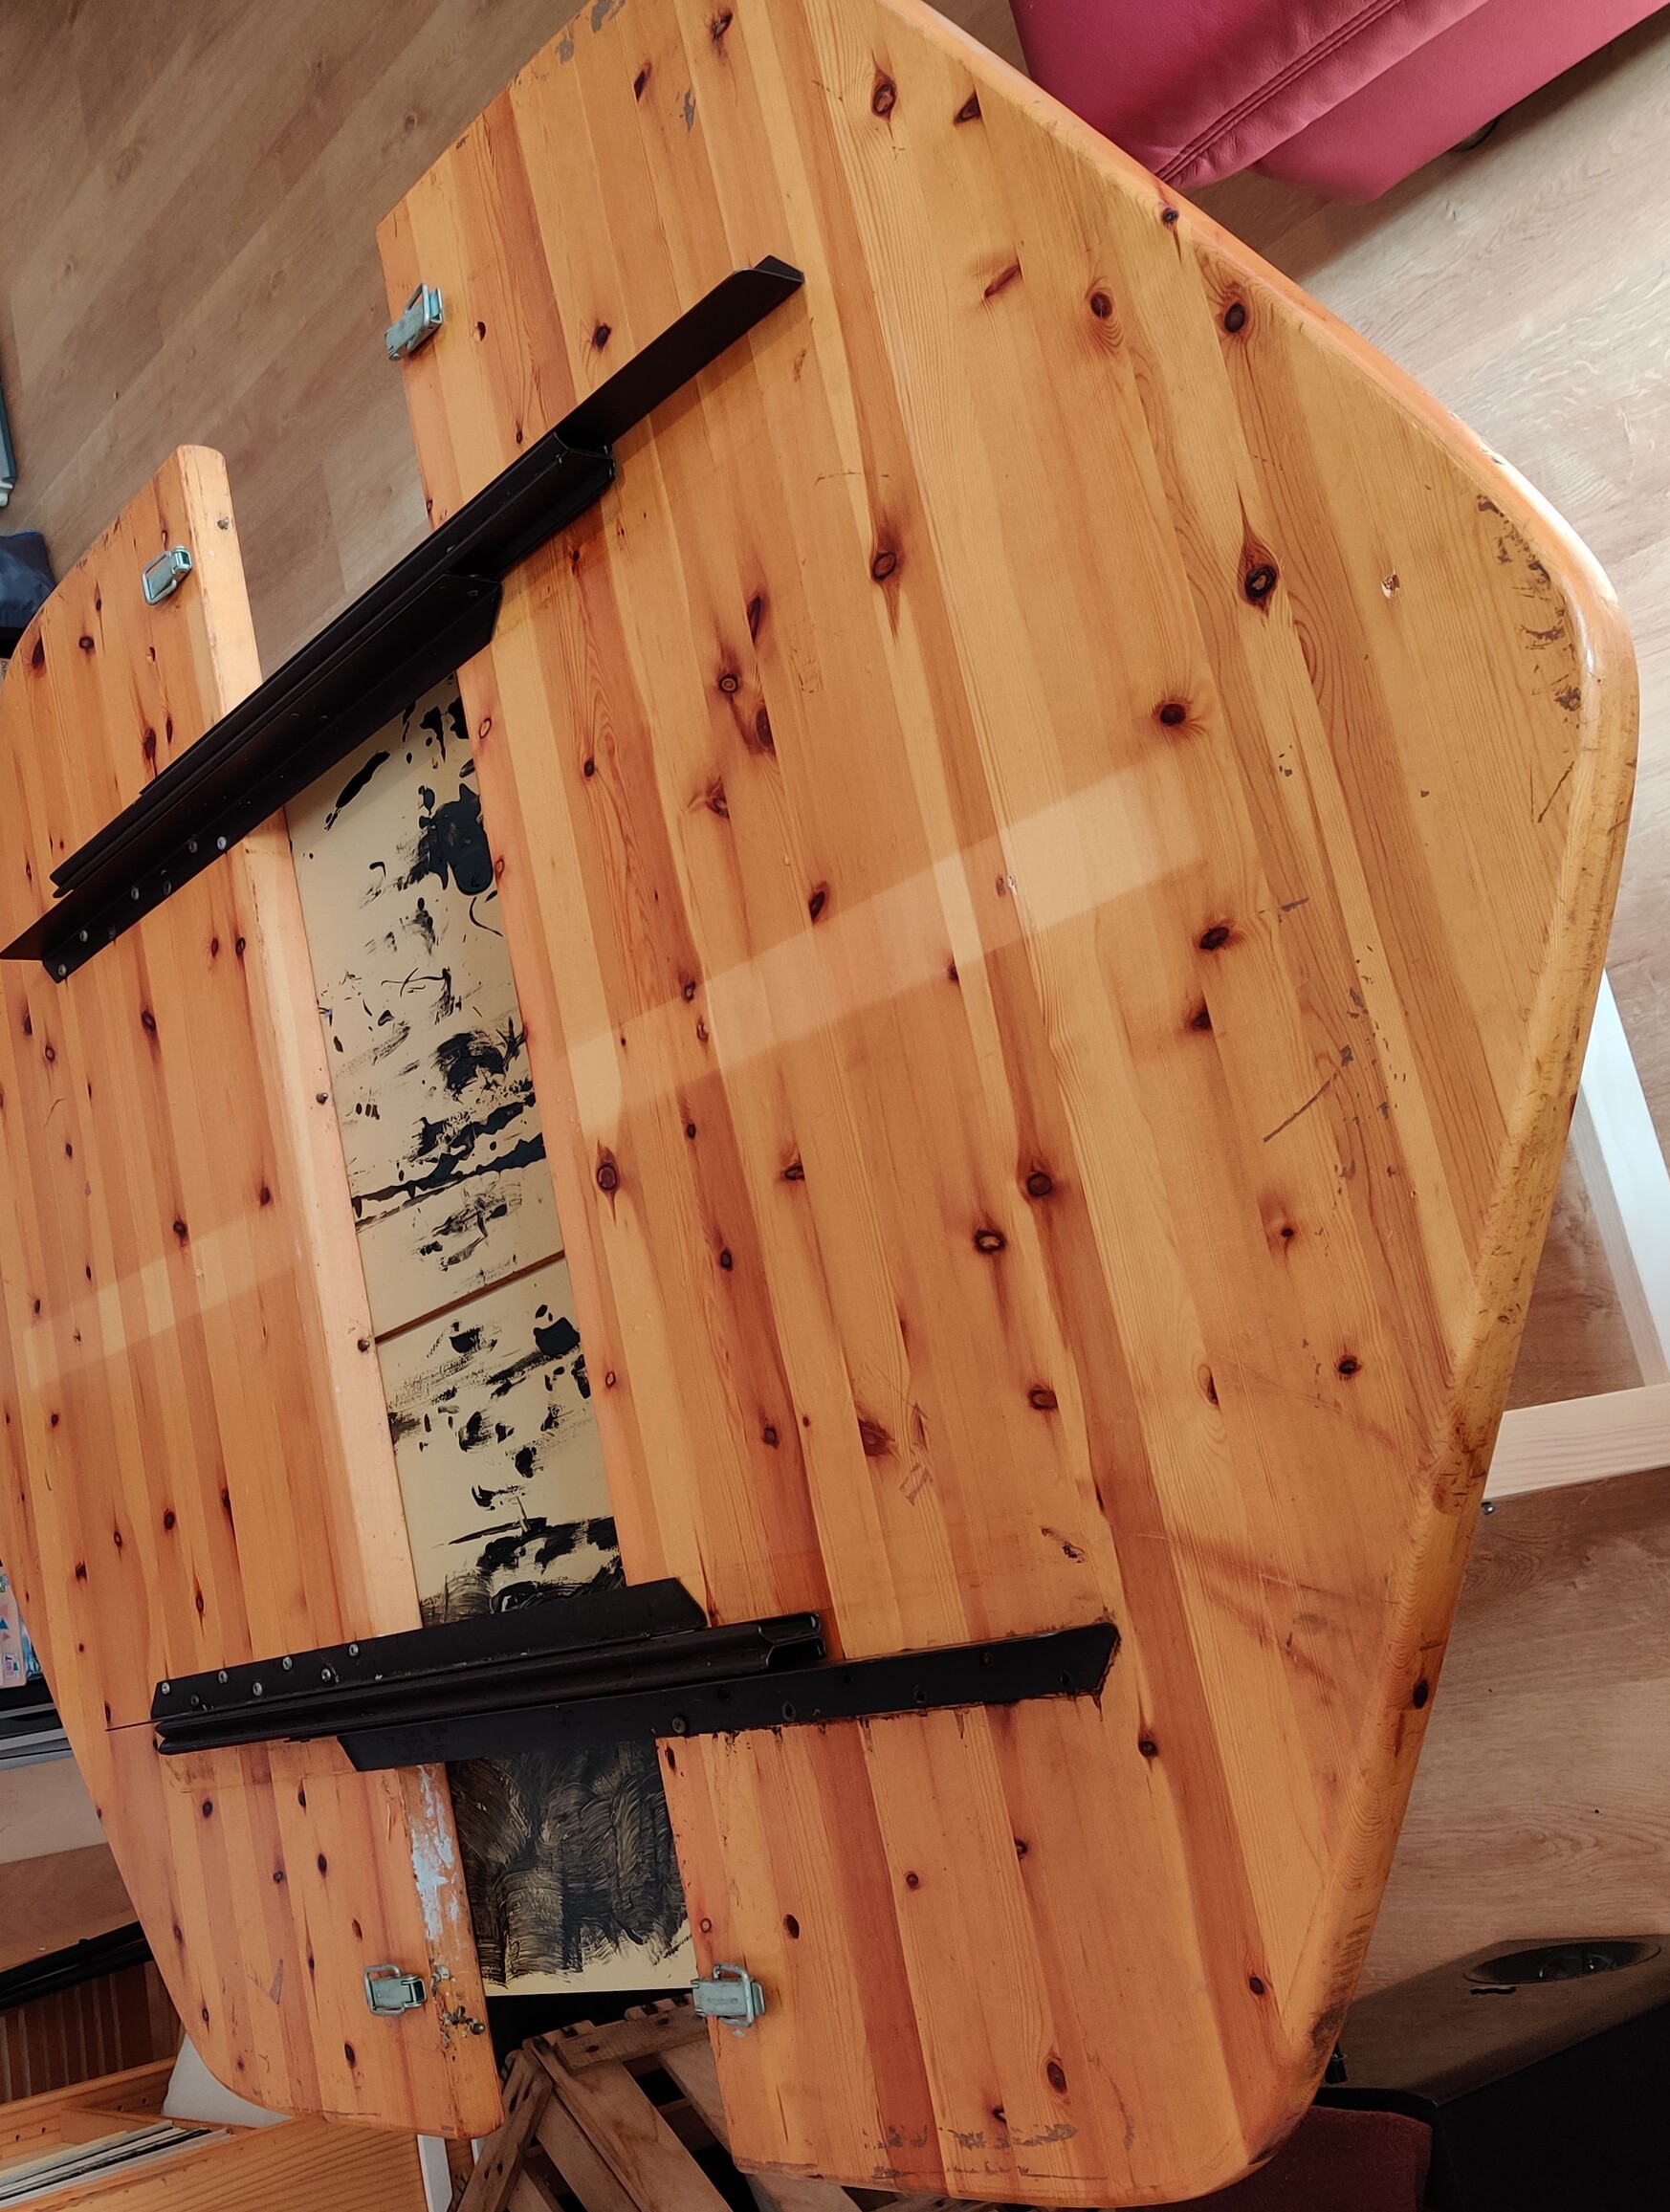
Step 3
The table seems to have been extendable with a center plate.
The two black rails hold the table in place, even when it is extended.
As we don’t have a suitable center plate and the size is sufficient for us, we unscrew the silver holders and the black rails.
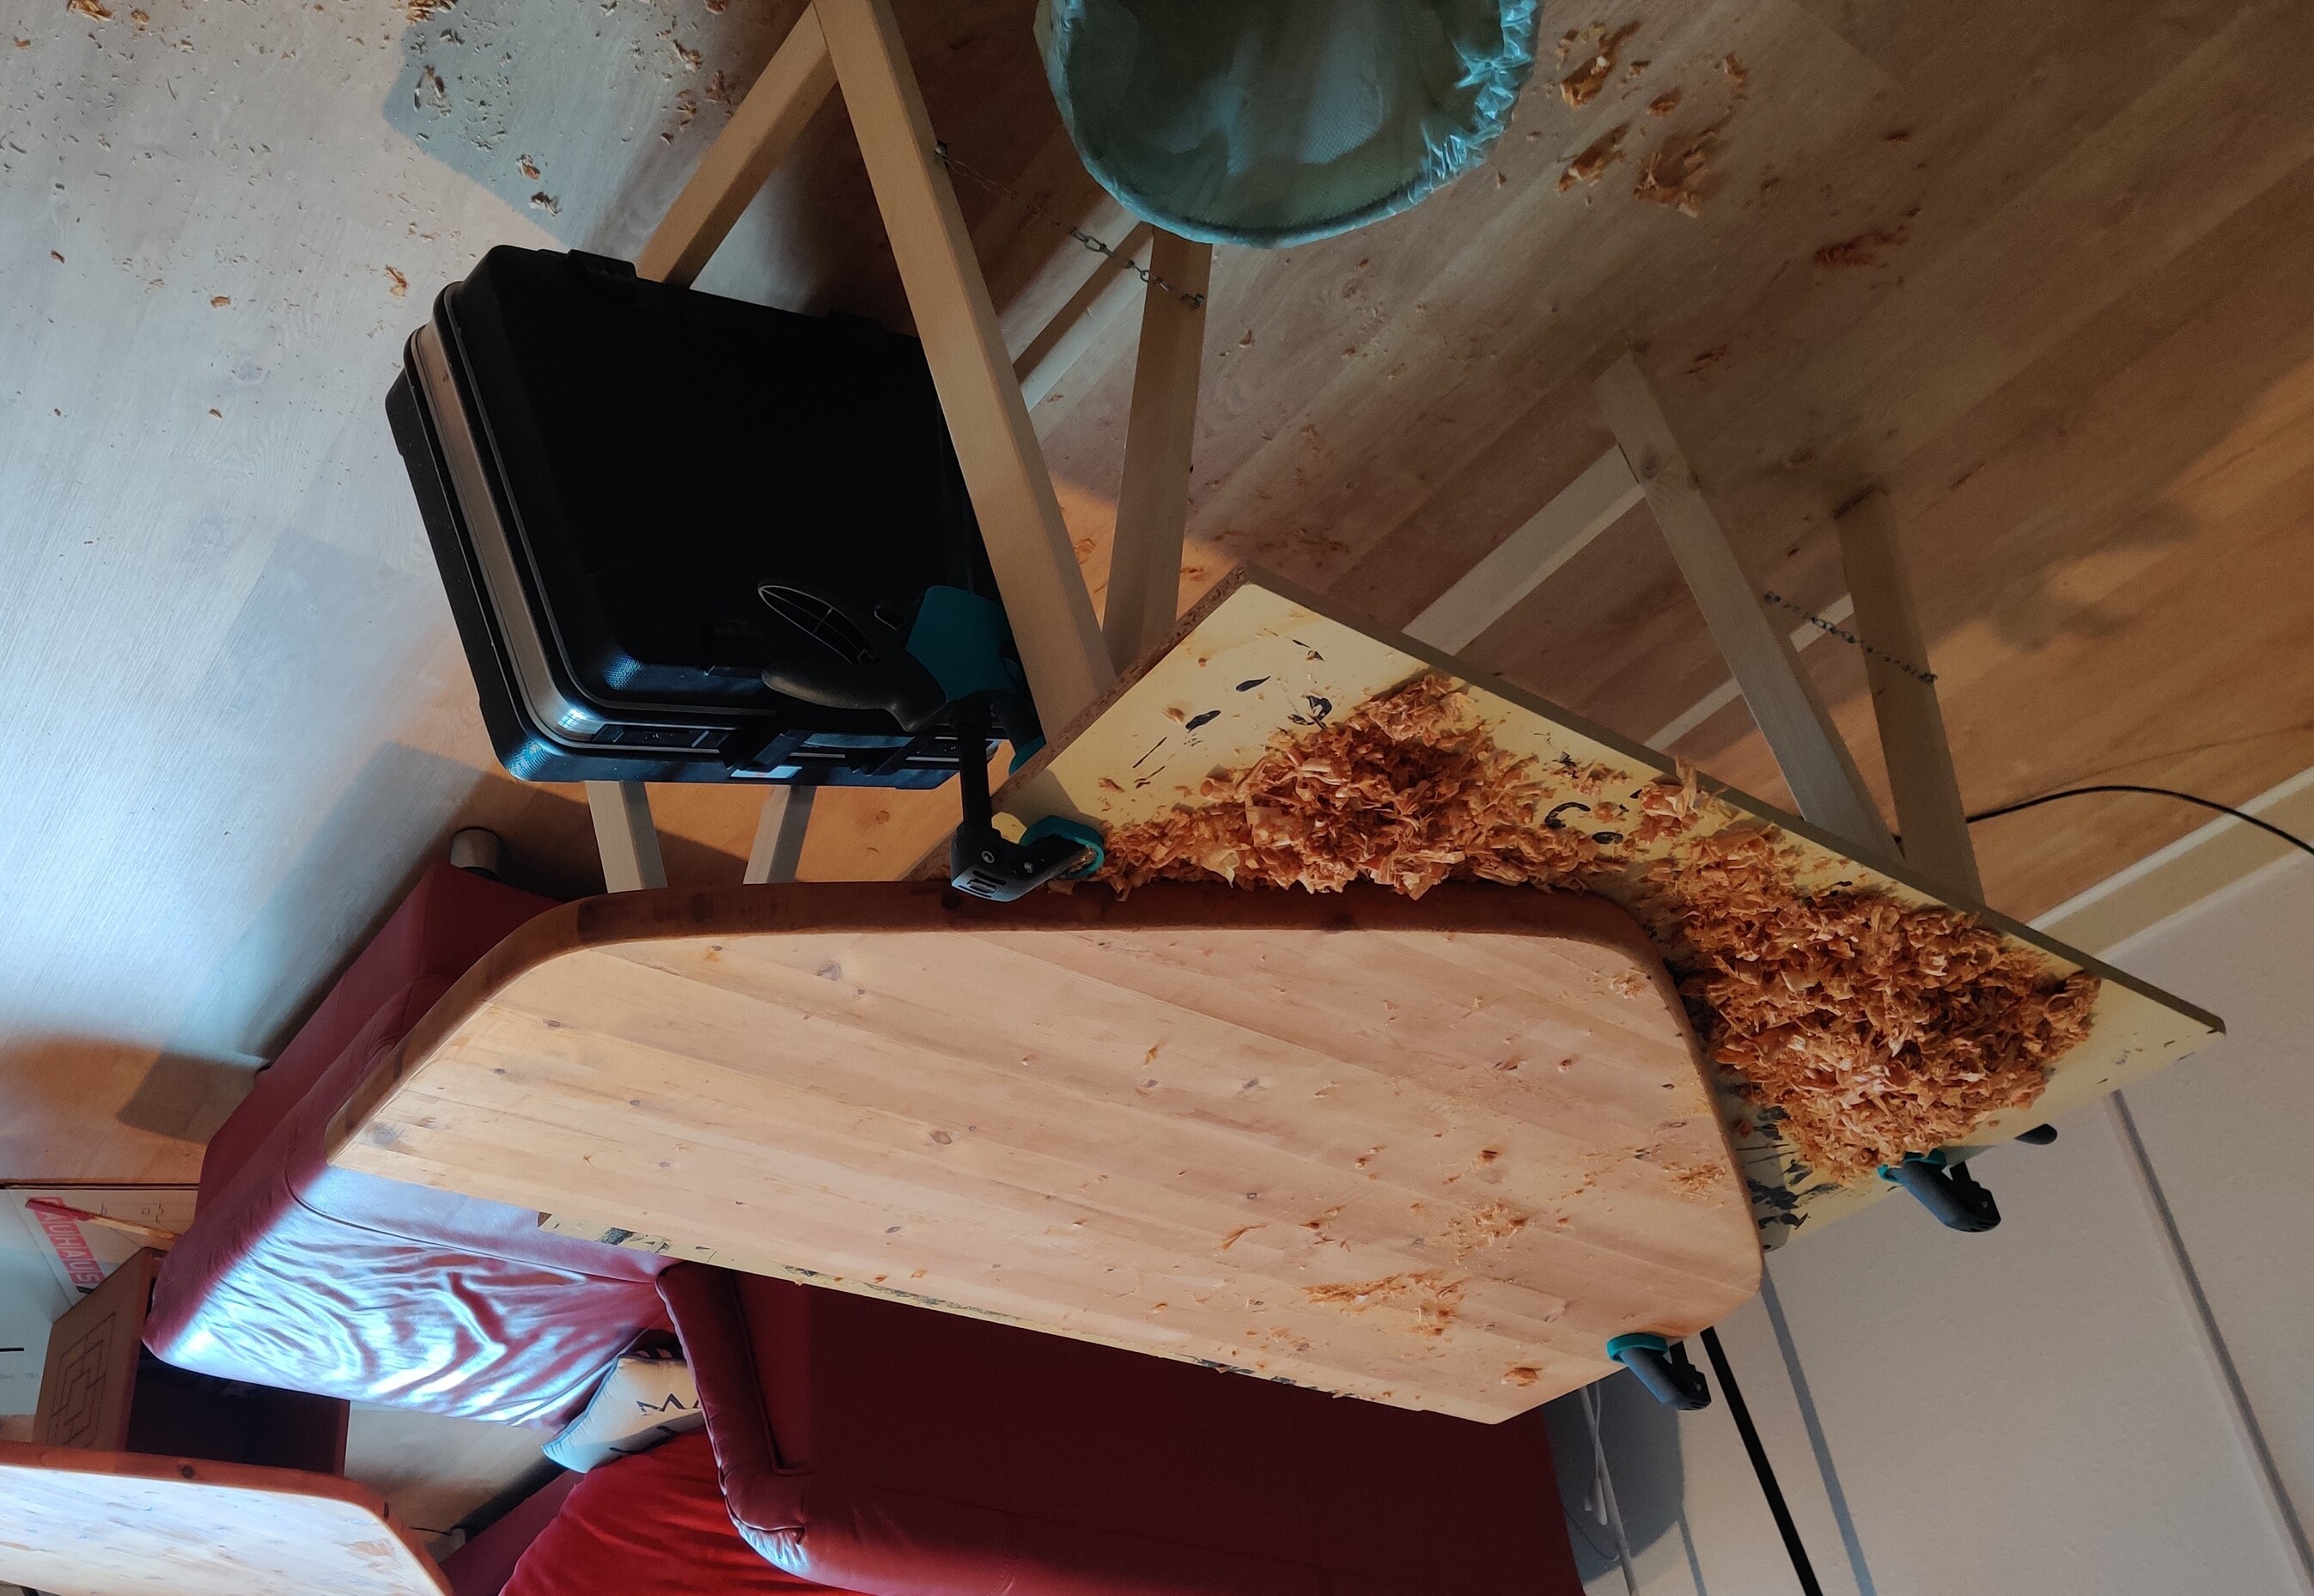
Step 4
This step was the most work. We wanted to get the raw wood back and remove as many grooves as possible.
To do this, we planed the boards and sanded over them. The living room was very dirty afterwards :D
Step 5
New coat of paint!
We didn’t take any photos during the painting process, but you can see the end result :-)
We painted the table top with an oil-based glaze in the color pine/larch and applied the first coat to the individual halves on the front and back.
We only applied the final coat once the table was fully assembled. Then just the top.
Step 6
Design and build the base frame!
I had a relatively concrete idea in my head of what kind of base I wanted.
We still had some wooden beams, so maybe we could use that.
To avoid cutting off more than you can chew and ending up frustrated, I designed the table in Freecad and developed the base frame according to my ideas:
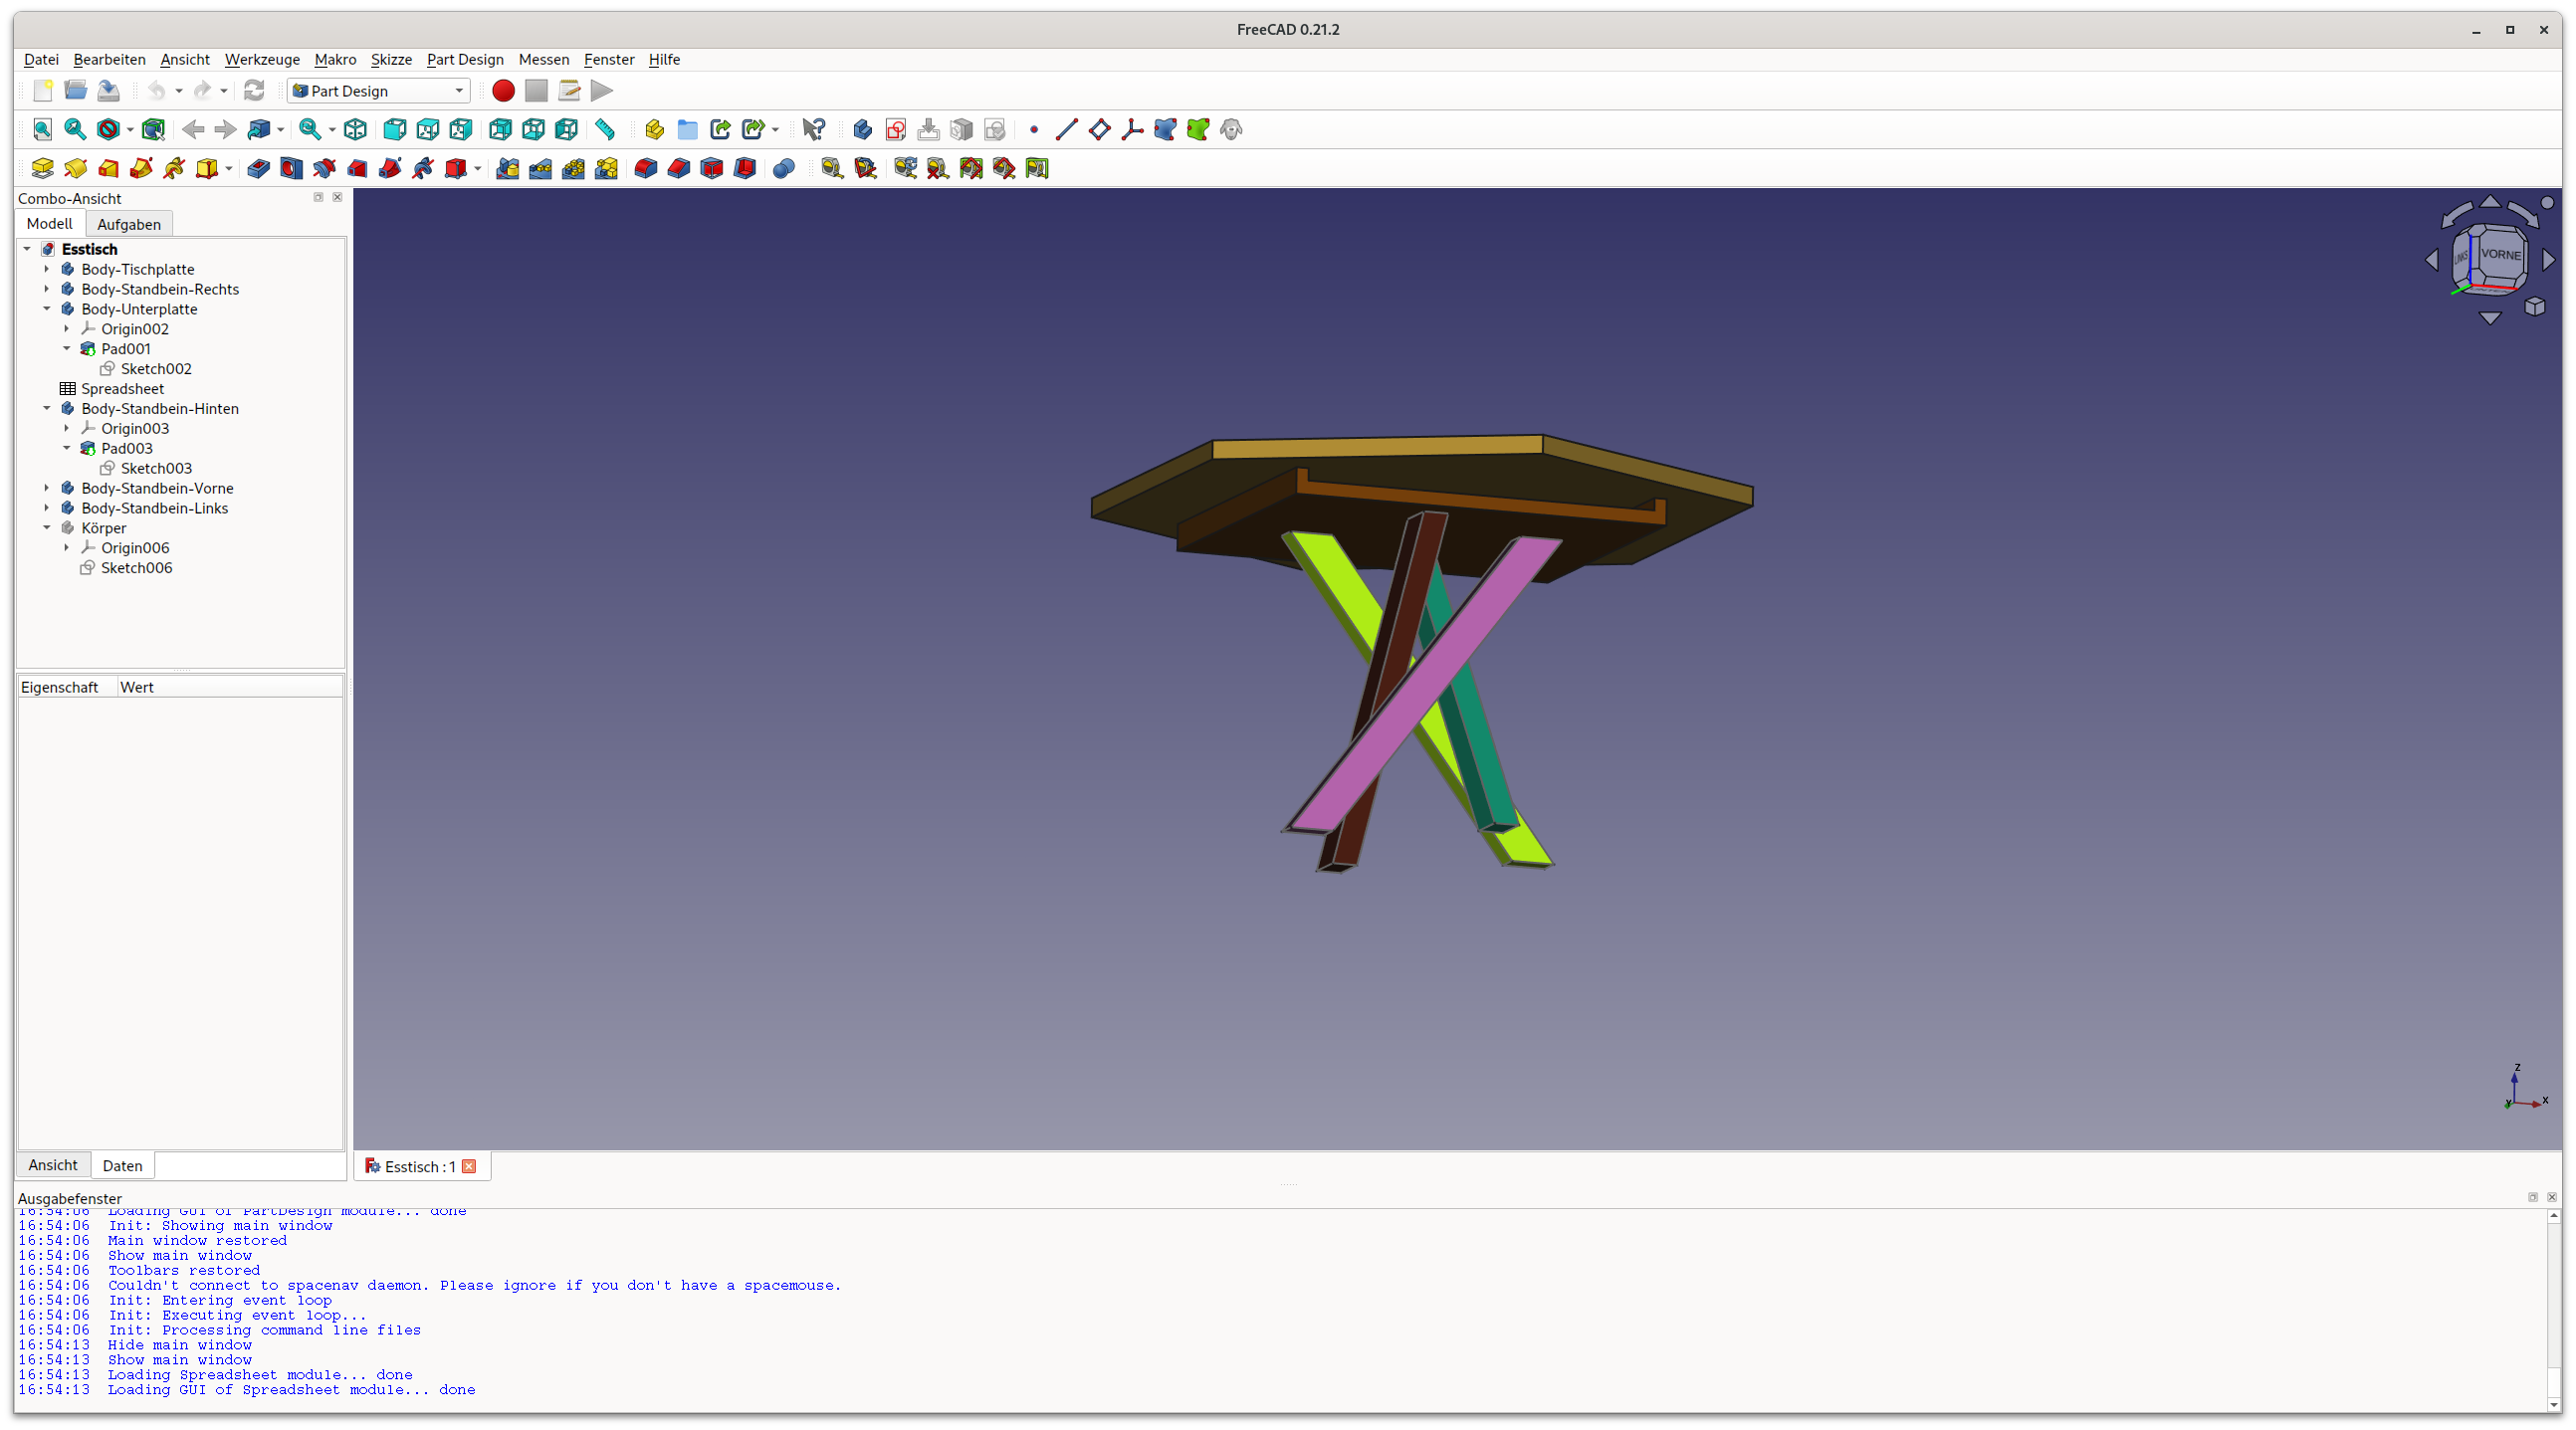
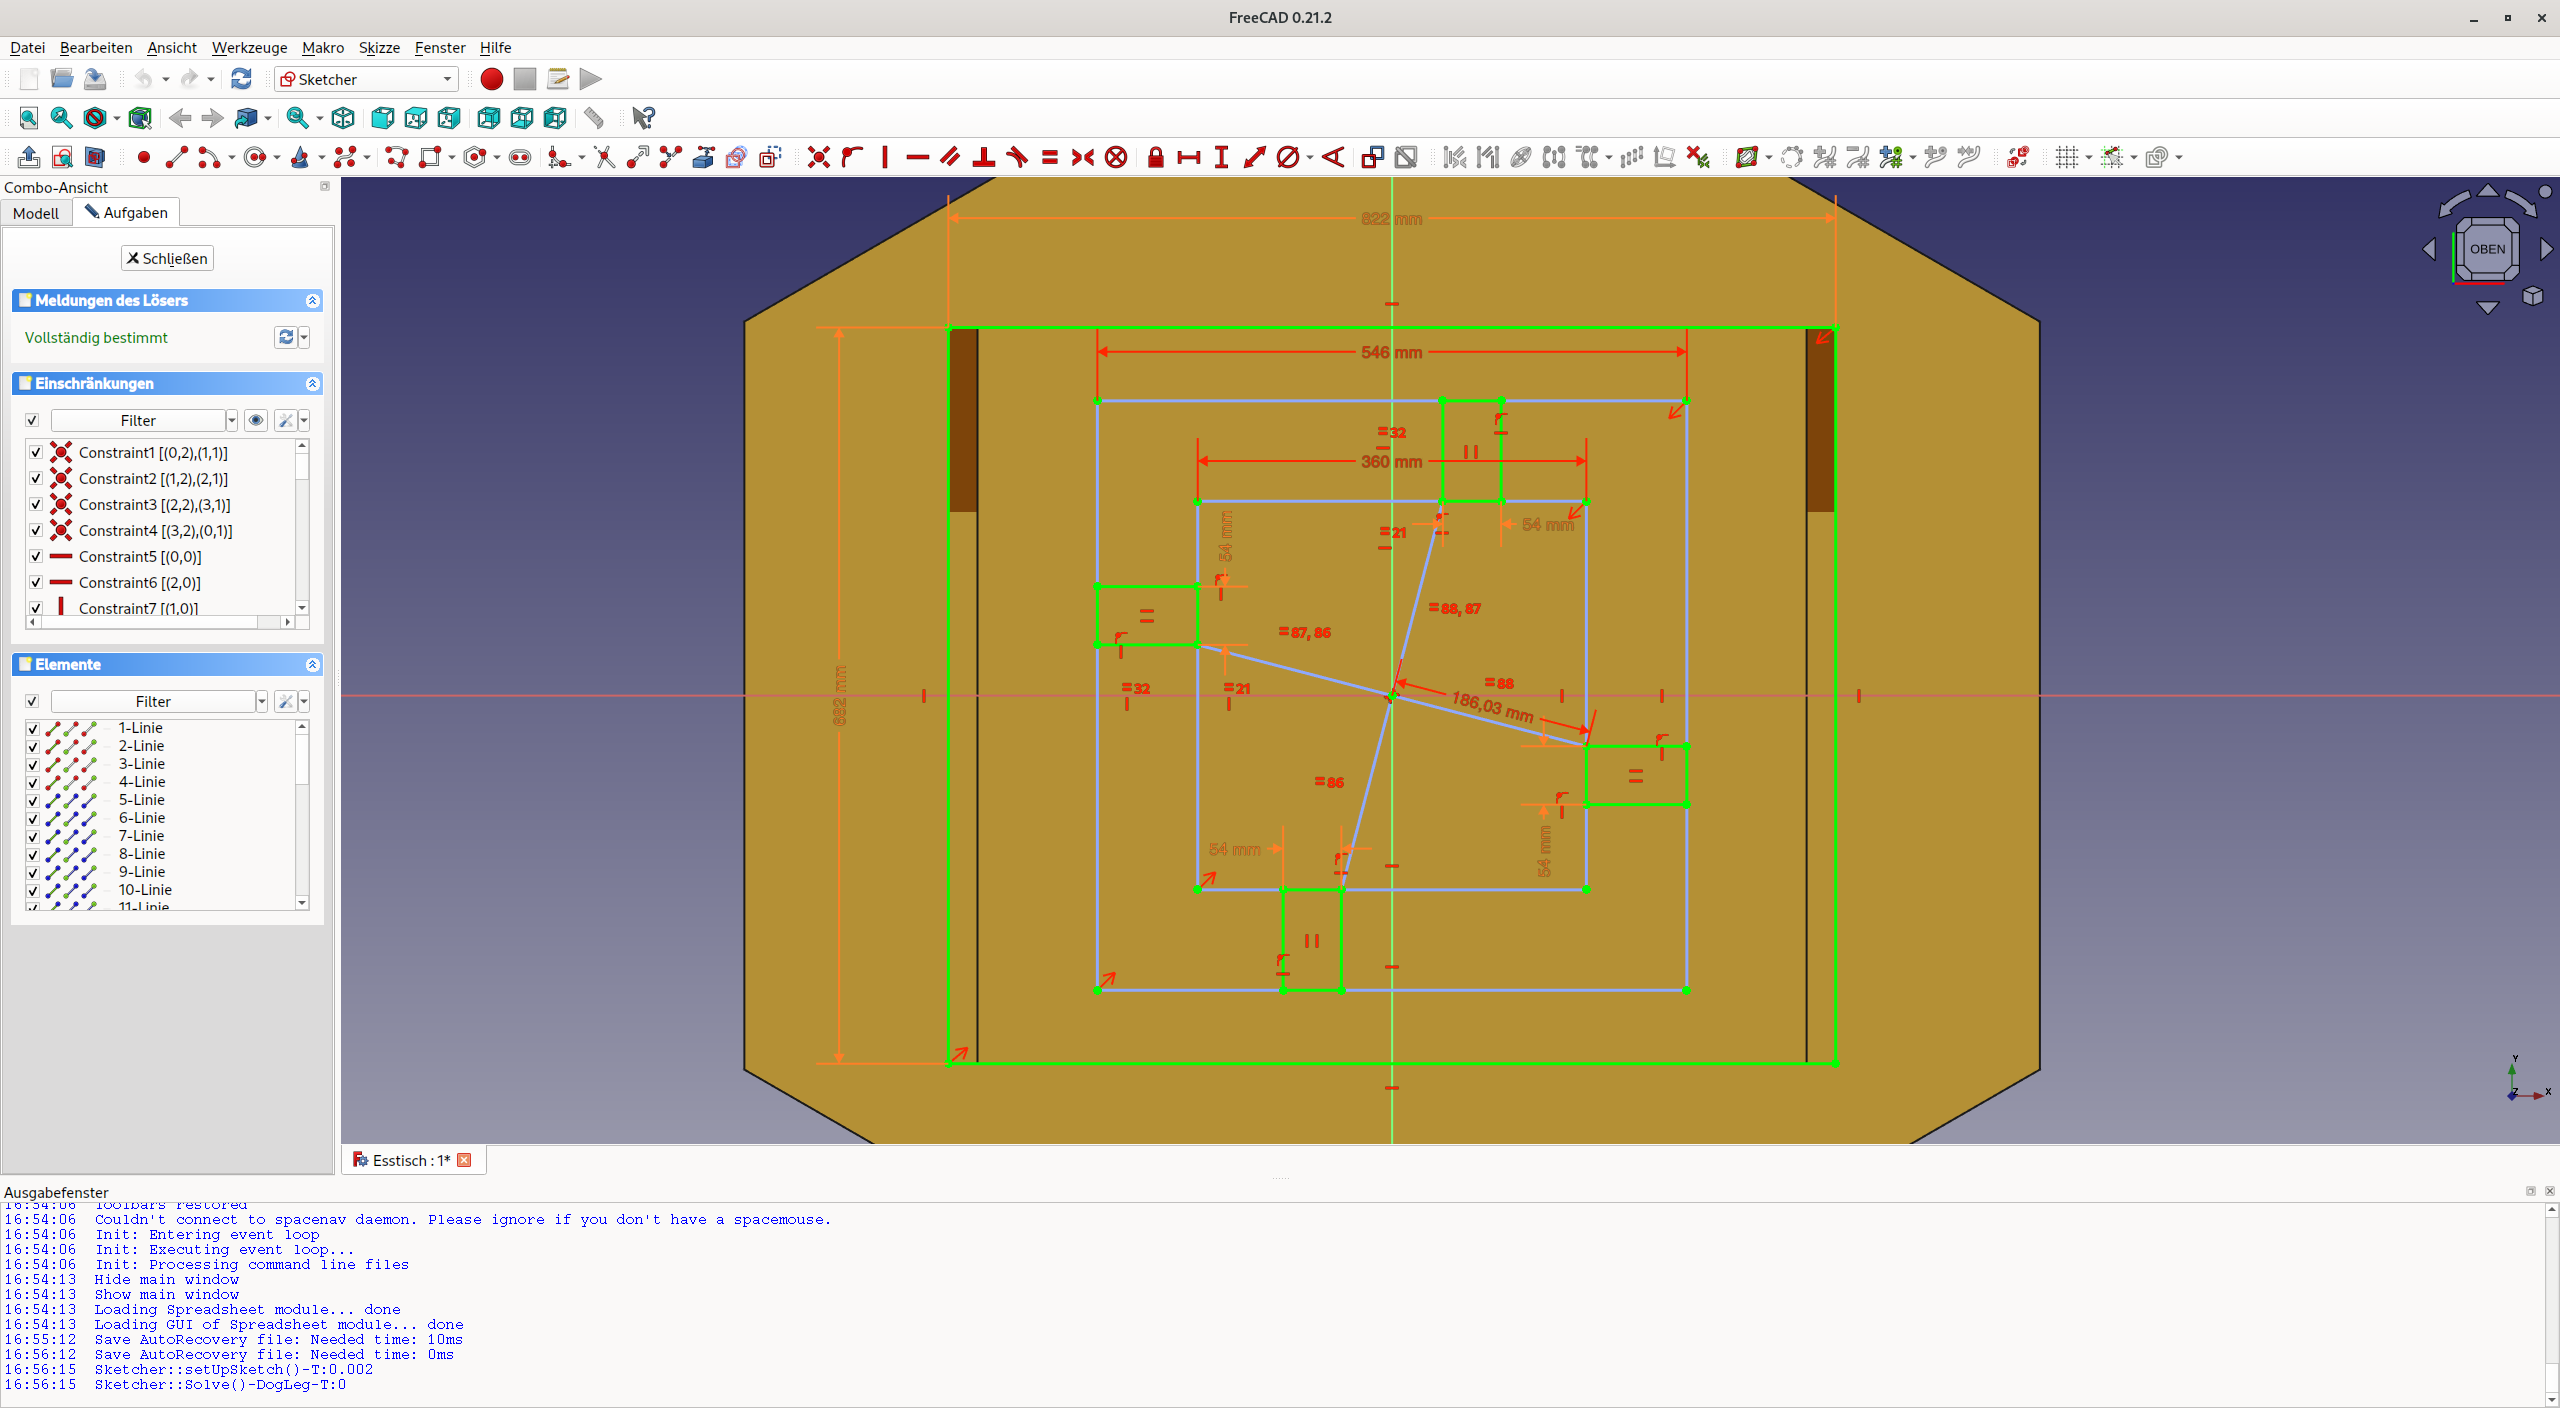
Freecad is great <3
Step 7
Build the base frame!
I don’t have any photos of the building process itself, but the sequence was as follows:
- take measurements from Freecad and transfer them to the wooden plate and wooden beams
- saw the correct lengths and angles
- roughly sand the beams
- drill holes for the screws
Base frame:
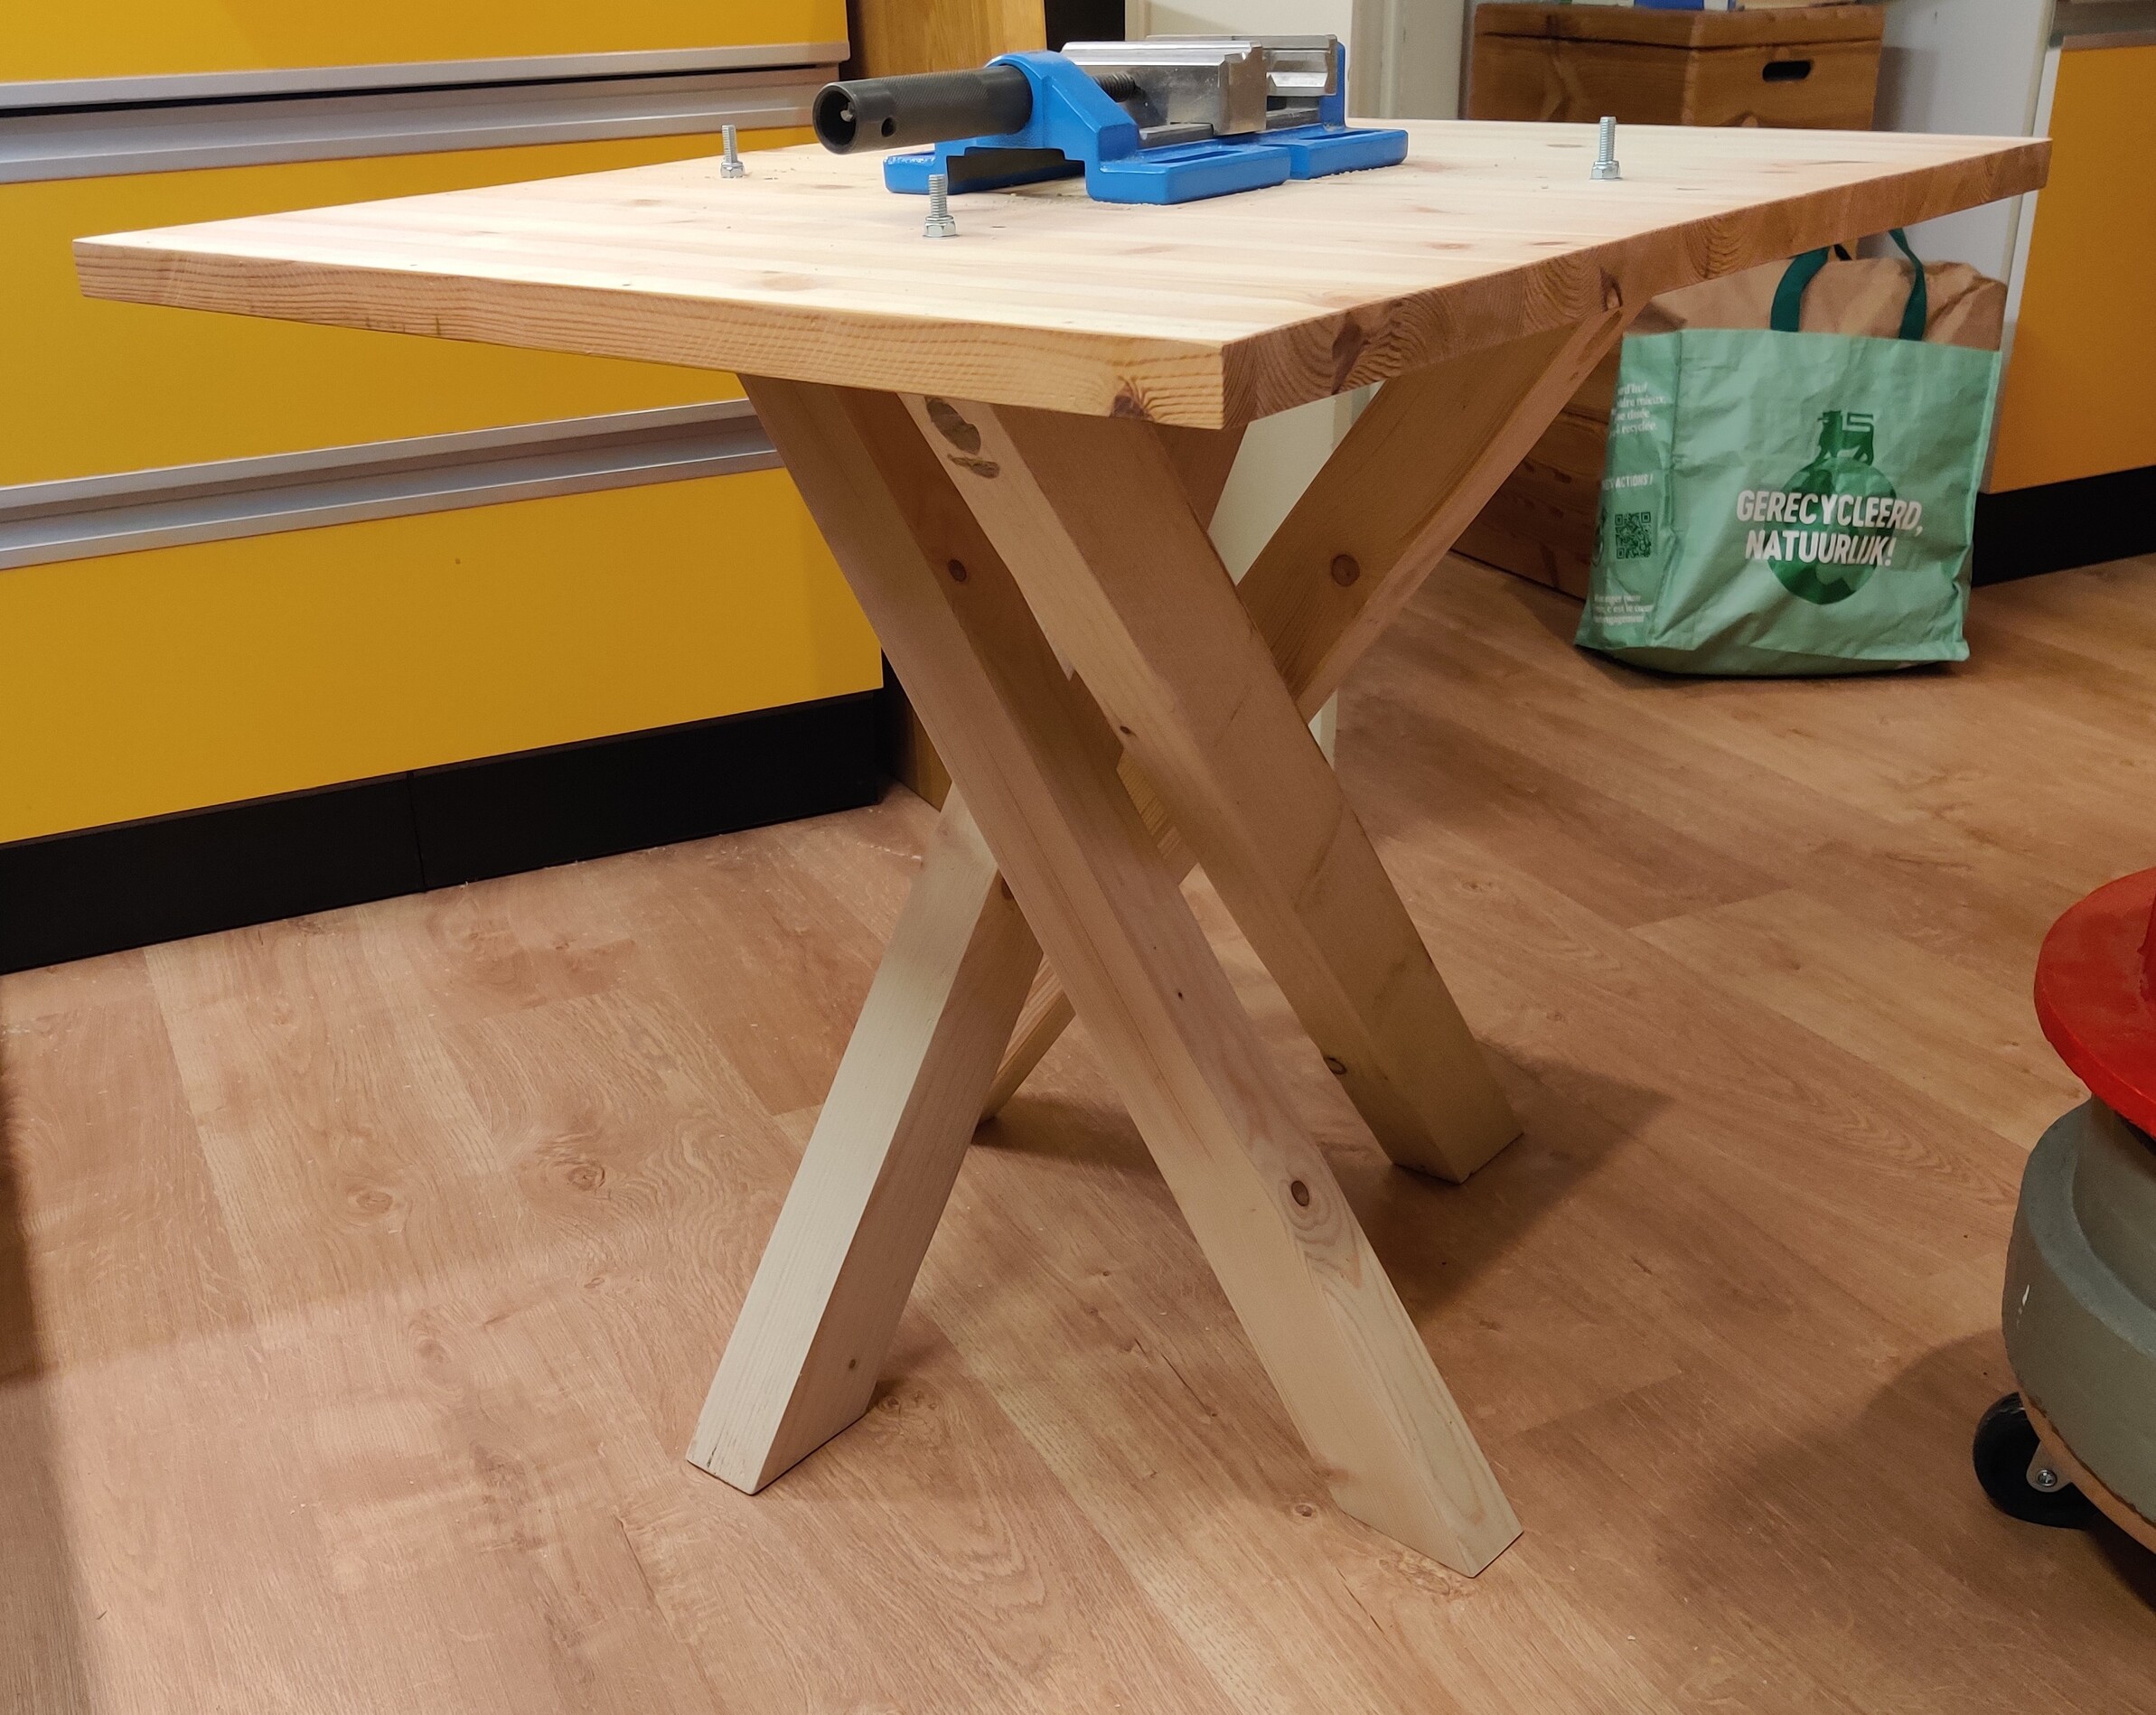
Hmmm….. The base frame bounces a lot. That certainly doesn’t get any better when there’s an overhanging top on it.
But at least the table legs fit next to each other and the differences to the Freecad design are not so huge.
Step 8
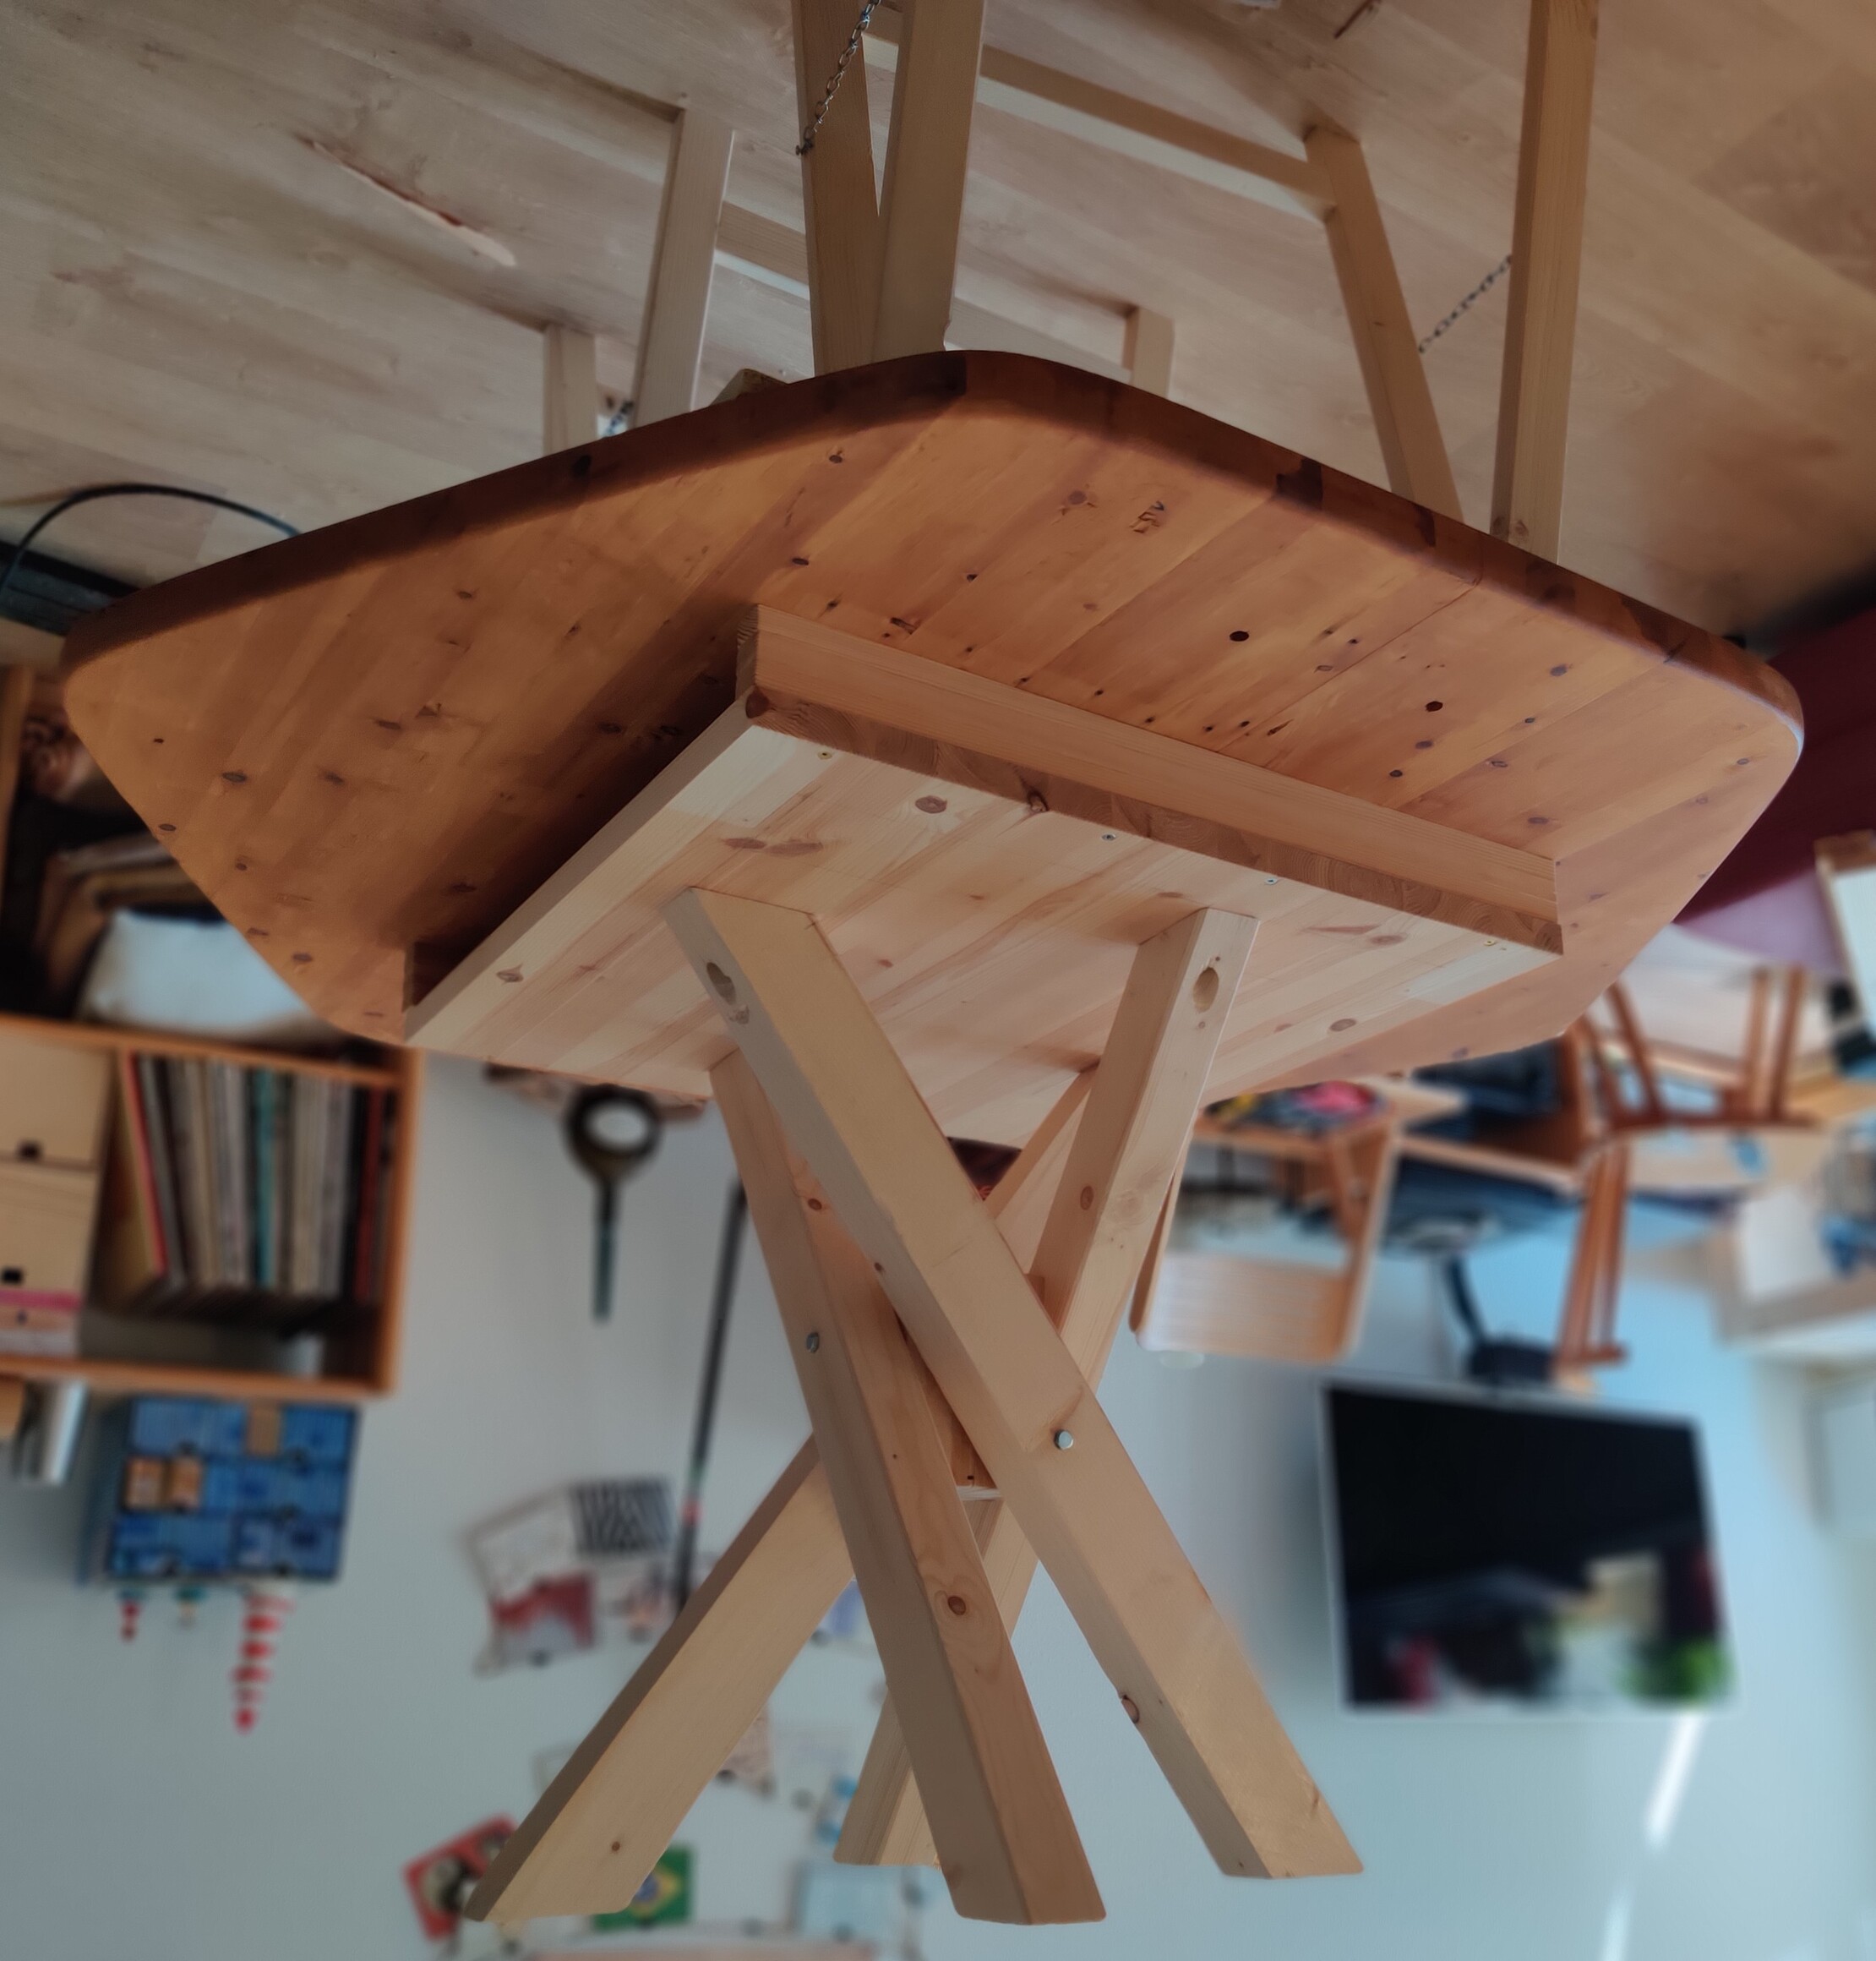
Underframe mounted on the table tops:
Step 8.1
Before we turn the table over and probably never turn it upside down again due to its weight, we try to stabilize the base frame.
The idea is to fix the individual legs at the narrowest point with a block in the middle so that they support each other.
I sawed two wooden blocks from a leftover wooden beam, glued them together and then attached them to the legs with screws.
Step 8.2
Table upside down:

I like the table!
It doesn’t bounce, but now it tilts :-(
By screwing the block down without the weight on the feet, I have fixed them at the wrong height.
All right then. Unscrewed the block again and after half an hour of fiddling with a new hole, the table stands rock-solid. 🥳
Step 9
Almost happy, we’re not quite finished yet.
Now we need a second coat of paint to give the surface a nice finish.
So let’s go, take a brush and paint the surface again.
After a few hours, I could see that I wasn’t going to like it. You can see the brushstrokes and some areas have too much paint on them. 😡
Painting is really not my thing. It never makes me happy and it’s no fun. If the result doesn’t match, it’s even worse.
Of course, I was too impatient and tried to sand down the paint, which wasn’t completely dry yet, in the areas I didn’t like. I can’t recommend that, now it’s even worse :-)
New day, new luck. Now with new motivation and new ideas.
The unsightly areas are roughly sanded or removed with a scraper and the entire table is lightly sanded. I now use a roller instead of a brush and it works much better.
The paint application is much better and the result is nice and even. This is going to be good :-)
Step 9.5
While everything is drying, we tidy up, vacuum, wipe, everything that needs to be done after a woodworking job in the living room.
Then turn the sofa and everything is ready for the new table.
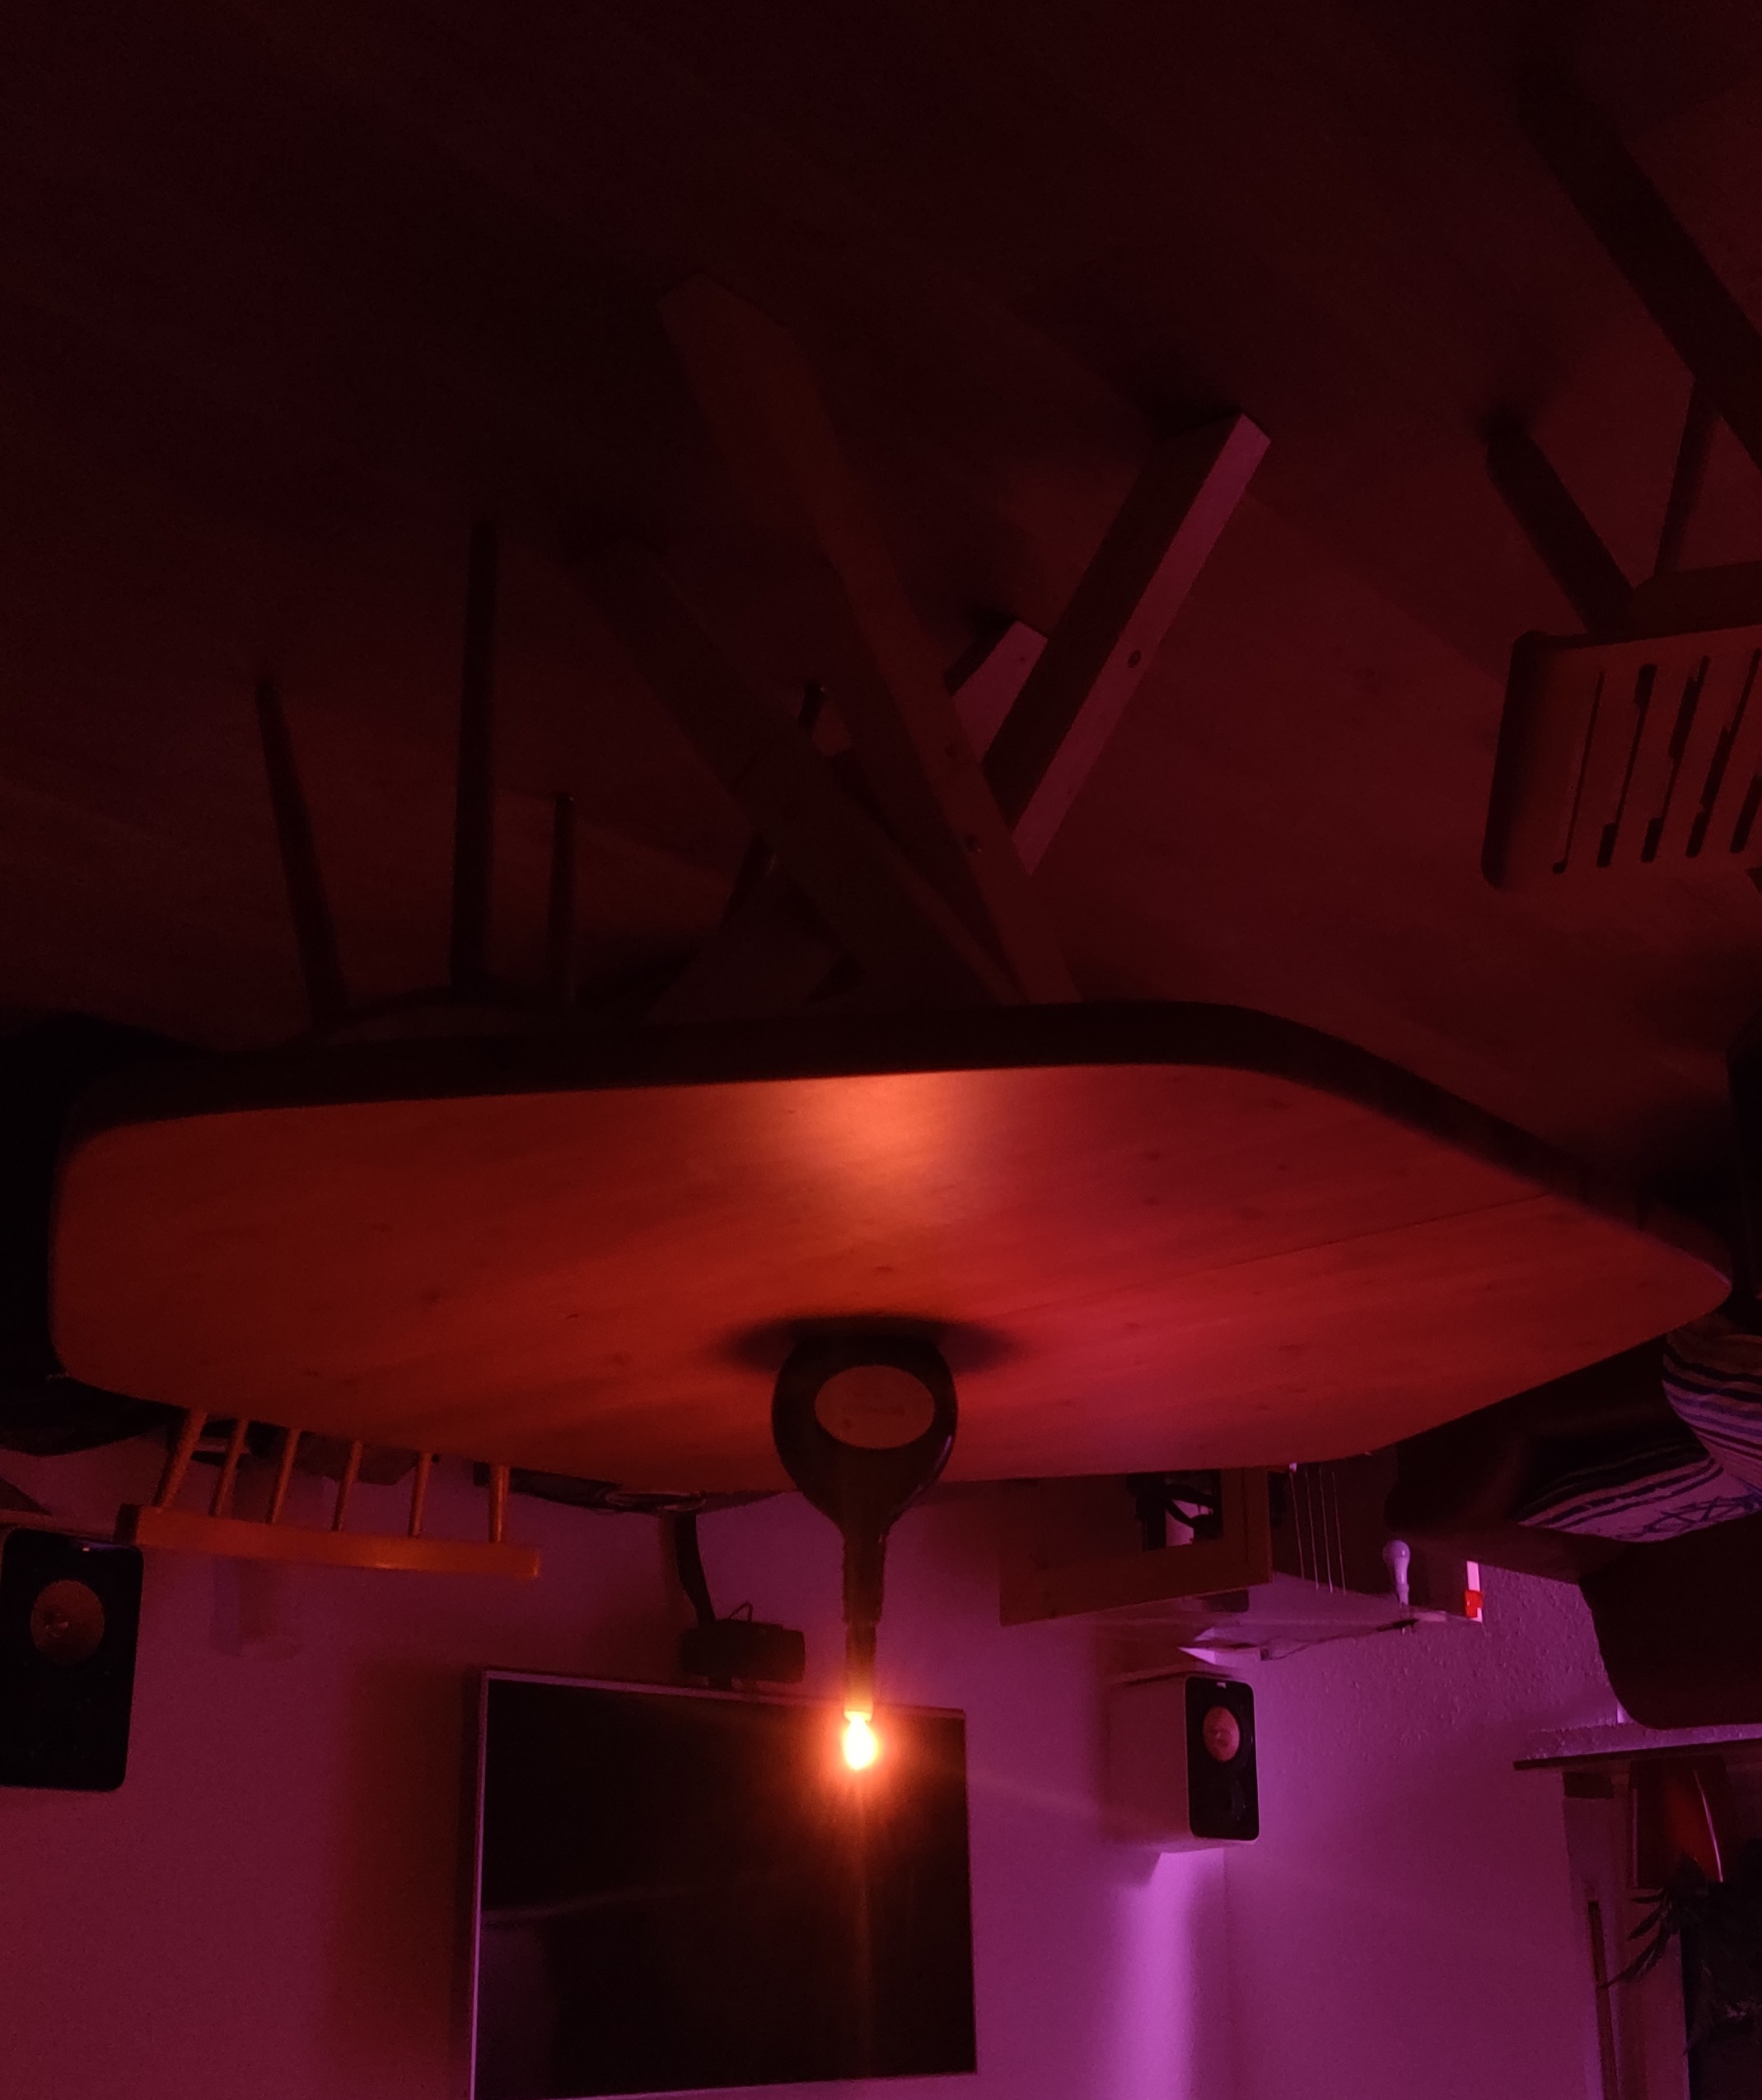
Step 10
Pleased!